ServiceNow’s event queues are mechanisms used to manage and process system events asynchronously. Events trigger actions based on conditions, enabling tasks such as notifications or workflows.
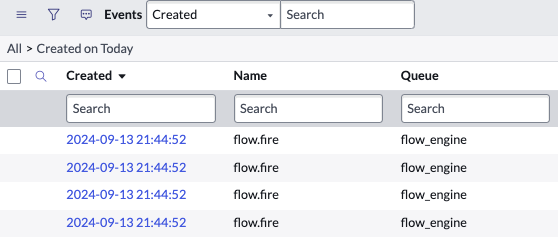
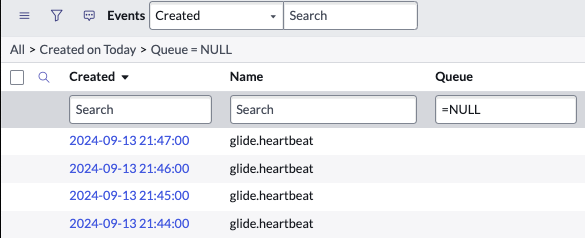
When examining the Events [sysevent] table, you’ll notice that certain out-of-the-box (OOB) events have a value specified in the ‘Queue’ column, while others leave this field blank.


Why custom queue?
When the ‘Queue’ column is left blank, the event is automatically processed in the ‘Default’ queue. Typically, when creating custom events, we leave this field empty, allowing them to be handled by the ‘Default’ queue, which works well for infrequent events. If your workflow triggers a high volume of events in a short period, it’s essential to define a separate queue to prevent system slowdowns.
In this article, we’ll explore how simple it is to create a custom event queue to optimise performance.
Defining queue processor
- Navigate to the Schedule [sys_trigger] table
- Look for and open the record with name ‘text index events process‘

3. Take a look at the ‘Job context’ field. It will have a one-liner script like below.
#Fri Sep 13 22:08:00 PDT 2024
fcScriptName=javascript\:GlideEventManager('text_index').process();
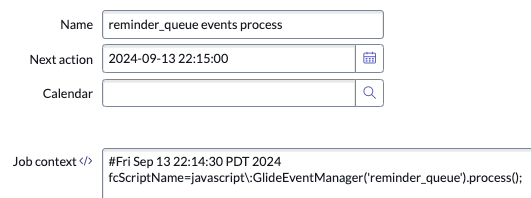
- Let’s assume our custom queue is called ‘reminder_queue‘.
- Edit the ‘Name’ field to reflect that.
- Edit the ‘Job context’ to replace ‘text_index‘ with ‘reminder_queue‘
- Insert and Stay on the record (very important)

- Reference – GlideEventManager
Next steps
Whenever we need to trigger an event in the custom queue that has a defined queue processor, we simply pass the queue name into the function call as the fifth parameter, as shown below:
gs.eventQueue('event', recordGr, parm1, parm2, ‘reminder_queue’);